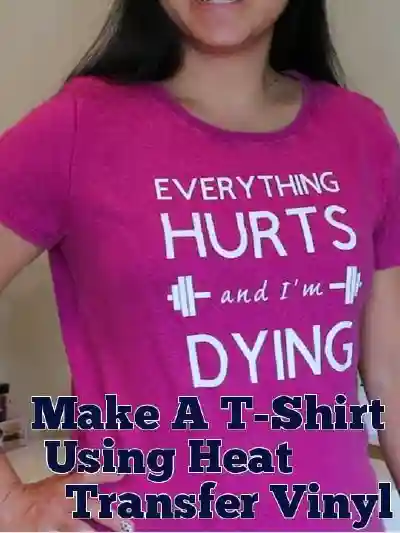
This is a basic question – How to use HTV (heat transfer vinyl)? Can we use iron on vinyl? But first, it is important to have the answers to some other questions to decide on some stuff is crucial. For example, the scope of your business. Are you aiming for retail or as a wholesale supplier of customized goods?
The answer to this will tell you how much stock you need and what kind of cutting and pressing hardware you need as well.
Then comes how to Use Heat transfer vinyl.
So, How to use HTV?
Some basic steps involved to use HTV are:
* Cut
* Weed
* Apply
Cutting the HTV
In order to use the vinyl, you need to cut the desired design into the material. We would use a vinyl cutter is used.
To use it, first prepare a cut file as an input to the cutting software like signmaster. Cutting file contains the design to be put on the garment. The most common cut file type is .SVG. some other can be .Studio, .png, .dxf or .jpg. this depends on the software. After this, measure the surface that the design is to be put on, is measured. The vinyl material is loaded into the cutting machine. Then the carrier sheet on the heat transfer vinyl will be face-down. The design should be mirror image. The type of transfer vinyl and the cutter will decide the cut settings. Now, just cut! You must get a easy to cut HTV with stretchy and also easy to cut. Some materials is suitalble for laser cutting only, be careful and get the htv with plotter cutting. If you want know more about different of transfer vinyl film, check with SEAART.
Weeding the HTV
Weeding the excess material from the final design after cut it. Use a sharp weeder for this. Keep peeling small bit until there’s just the perfect design left. Then use a hook to grab the excess part of the vinyl. Then ou can start by first removing around the design and then removing from between the letters and other intricate parts. You must use the vinyl that is easy to weed, bad HTV is really not easy to weed. Seaart heat transfer vinyl roll is quite good to easyweed.
Applying the Heat transfer vinyl – Iron on HTV
Now we got the weeded the vinyl, it’s time to apply it. for this you can use:
o Heat press – it’s the largest and an expensive machine and is mostly used by businesses that produce in bulk. Then Use it by placing the garment between the pattens and apply firm and even pressure of the clamping mechanism to adhere the design. Even pressure is important for applying the HTV neatly, and the heat press easily achieve it.
o Iron – if you are a DIY artist and doing it for personal experience then a home iron is what you can use. Heat and pressure is all you need to activate the adhesive on the HTV. Also both are achievable with an iron. Just make sure to apply enough and even pressure or the heat transfer design might come off after one wash only. Then put the iron on the cotton setting and turn the steam off. Now, keep the design on the surface with the clear plastic sheet on top so the design reads correctly. Apply pressure for 10-20 seconds. The amount of heat, time and pressure vary with different HTV material. Glitter might take a little longer. After the patch cools down, you can peel the carrier sheet off slowly. Some material is warm peel and more quick.
Please wait the adhesive to cure for 24 hours before washing. Then to be safe, wash inside out. Now you know how easy working with heat transfer vinyl is. Just follow the instruction and customize away. Now HTV is more better and easier to use and even no problem to washing many times. Check more if any questions with Seaart who is an 20 years professional supplier on heat transfer vinyl (HTV) for clothing.

Leave a Reply